Parting lines in injection molding are often subtle, but they play a critical role in the design, aesthetics, and functionality of molded parts. Whether you're working with plastic or liquid silicone rubber, understanding how and where a parting line forms can help you avoid common production issues, reduce defects, and lower costs.
This article will explain what parting lines are, how they form, why their location matters, and the types of parting lines used in mold design. If you're an engineer, product designer, or sourcing manager, this is your quick guide to parting lines done right.
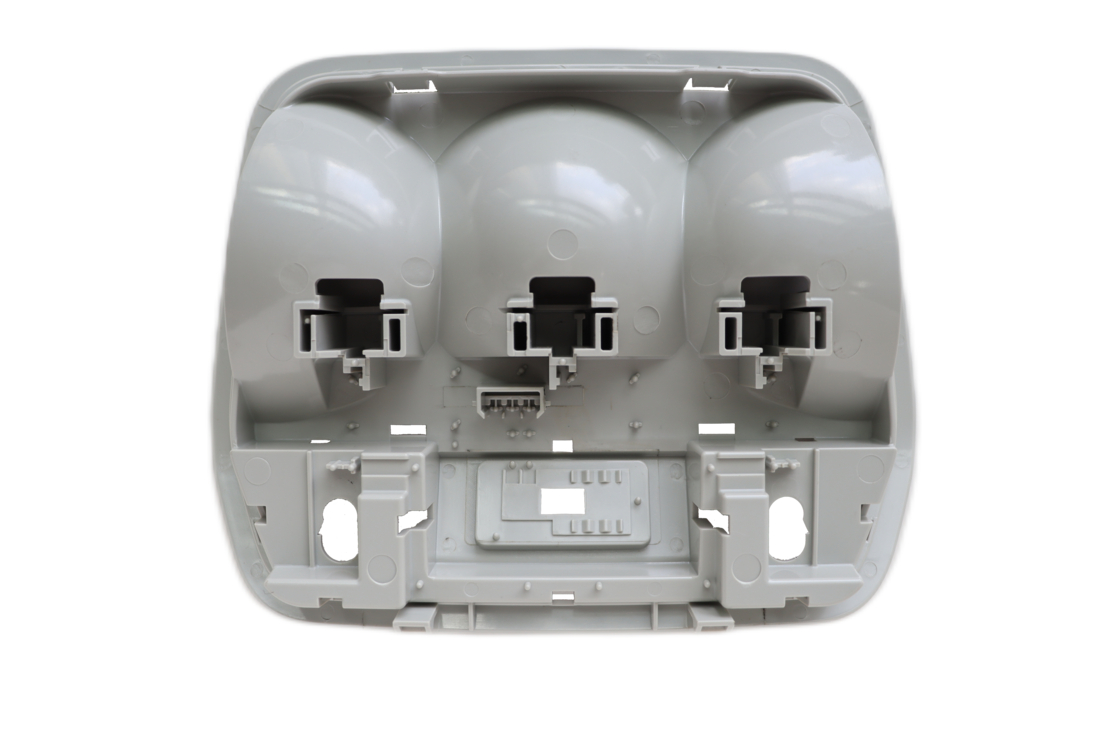
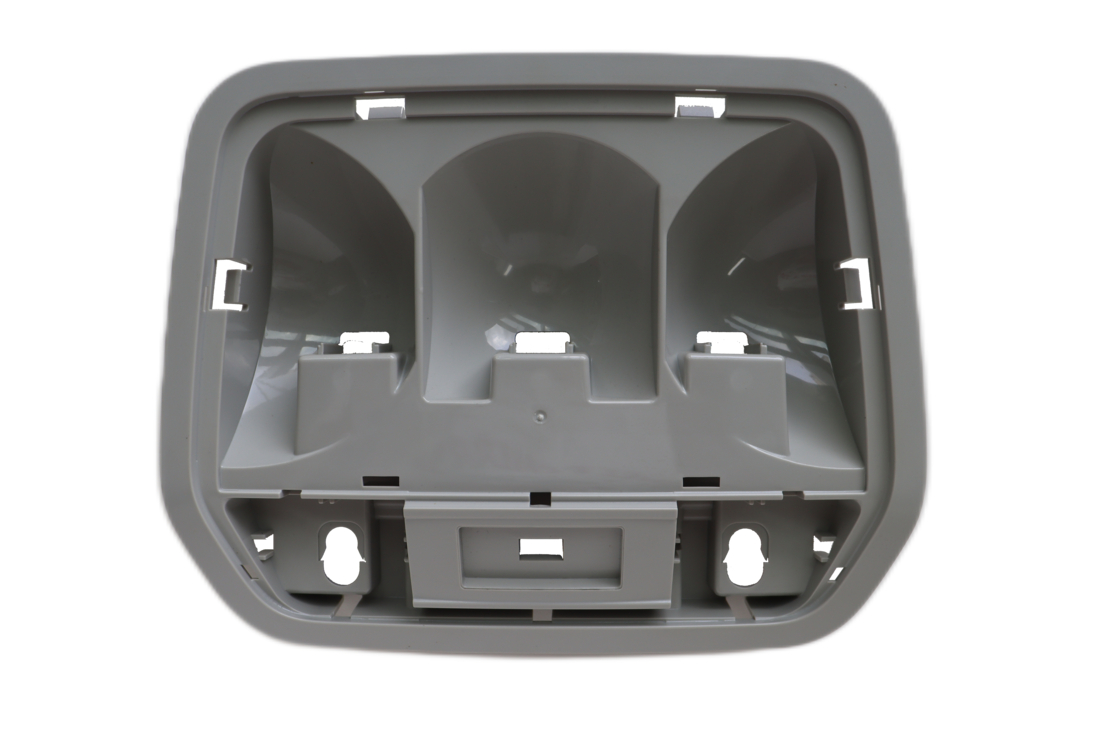
A parting line is the visible mark on a molded part that shows where the two halves of a mold (core and cavity) meet and separate during the injection molding cycle. It forms naturally during molding and is not a defect—though its placement and visibility can affect the part’s appearance and function.
In most molds:
Together, they enclose the mold cavity, which is filled with molten plastic. After cooling, the mold separates, and the part is ejected—often leaving behind a thin seam at the parting line.
Parting lines aren’t just cosmetic; their location affects three key aspects of part design:
The draft angle—slight tapers added to vertical walls—helps remove the part from the mold. Drafts run in opposite directions on either side of the parting line. Poor parting line placement can result in sticking or damage during ejection.
If mold halves aren’t perfectly aligned or sealed, molten plastic can escape and form flash —thin extra material along the parting line. While minor flash is common, excess flash can harm aesthetics or interfere with sealing and assembly.
Molds with complex parting lines may require side-actions or extra mechanisms, increasing tool complexity and cost. Improper parting line design can also lead to post-processing steps like flash removal, which raises manufacturing expenses.
Parting lines form where the fixed (stationary) half and moving (ejector) half of the mold meet. During molding, these two halves press tightly together. When the part cools and solidifies, the moving half pulls away, creating a natural line at their junction.
In basic designs, this is a single, straight line. But for parts with undercuts, side features, or curves, the mold may open in multiple directions—requiring more complex parting lines.
The parting line style depends on part geometry and functional needs. Here are the most common types:
This is the simplest and most commonly used type. It runs perpendicular to the mold opening direction—ideal for symmetrical parts like plastic housings or containers.
Sloped rather than straight, beveled parting lines help reduce air entrapment and flash in certain designs—especially around features like ribs or angled surfaces.
Used for parts with complex shapes, like handles or ergonomic grips, curved parting lines follow the contour of the surface to minimize visual impact.
This type includes staggered or offset lines to handle imbalanced forces in the mold cavity. It helps maintain mold alignment and is often supported by inserts or symmetrical layouts.
In advanced designs, multiple parting line types may be combined into one mold to accommodate complex features and functional zones.
Identify the line of draw :
Parting lines may seem like a small detail, but smart design decisions about their location can significantly improve product quality, aesthetics, and manufacturing efficiency. By understanding how parting lines form and what influences their placement, designers can avoid costly errors and create parts that are functional, attractive, and easy to mold.
At AAA , we specialize in precision injection molding and tooling optimization. Our expert team offers in-depth DfM support to help you place parting lines where they belong—and nowhere they don’t. Ready to bring your design to life with high-quality, cost-effective injection molding?
Contact AAA today for a free quote and DfM consultation!

RM1223, 12F, No.1, Fuji Bldg, No. 6018 Longgang RD. , Longgang Dist., Shenzhen,China.


Tel: 0086-755-89618186

Contact: Paul Hu 0086-18675501028


 LEAVE MESSAGE